Menu bar

Showing posts with label gauge. Show all posts

Knitted hat with cables - Vanilla Cloud Hat pattern release

4.3.24

 It is never too early or too late to knit another hat for yourself or your little one! Knitted hat is also a great present for your friends who do not knit but appreciate warm cozy accessories. Also begin of spring is a great time to bargain lovely winter yarn on a sale. Please meet my new hat design - Vanilla Cloud Hat Light.

Vanilla Cloud Hat Light - design

This comfortable cables hat is knitted in combination of moss stitch with simple braid cable. Pattern calls for Aran weight yarn, but for extra cozy look you can replace it it with a strand of DK yarn held together with a strand of mohair in lace weight.  


Knitting pattern for Vanilla Cloud hat Light is written for wide range of sizes from baby to adult L. Pattern has both full chat for each size and detailed row-by-row instructions. The hat is knitted in the round seamlessly. The height of hat can be easily adjusted to a slouch style by adding a repeat or a few before crown shaping.

Knitting pattern for Vanilla Cloud Hat is available from Ravelry and Lovecrafts

Vanilla Cloud Poncho

There is also Vanilla Cloud Poncho and Hat set is available in my collection. You can read more about it in my blog post - Vanilla Cloud Poncho and see the knitting pattern for it on Ravelry, Etsy and Lovecrafts.

To see some behind the scene photos you can follow me on Instagram.

You are also welcome to join my Facebook knitting group to share your work and get some help with my patterns.

Read more ...

Knitting two parts together and improving of knitting techniques.

4.3.24

 Knitting two similar parts together helps to maintain uniform gauge, optimize yarn utilization, help keep track of increases/decreases as well as prevent “second sleeve syndrome”. Let’s discuss this in details and discover how it help us to create perfect knitted garments such as sweaters and cardigans.


1.    Consistent Gauge: 
Knitting both sleeves simultaneously helps ensure consistent gauge and tension. Our tension can change a bit for example if we are tired or it can depend on our mood. It is particularly important for sweaters and cardigans where matching sleeve length and width is crucial for a perfect finish and professional look.
You can also read how to check your knitting gauge correctly and why it is important to achieve the correct gauge in my blog post - Knit a gauge swatch


2.    Efficient Use of Yarn: 
Knitting two sleeves at once allows you to use the yarn more efficiently. This is especially advantageous if you're using hand-dyed yarn, ensuring both sleeves have the same colour distribution.


3.    Uniform Increases/Decreases: 
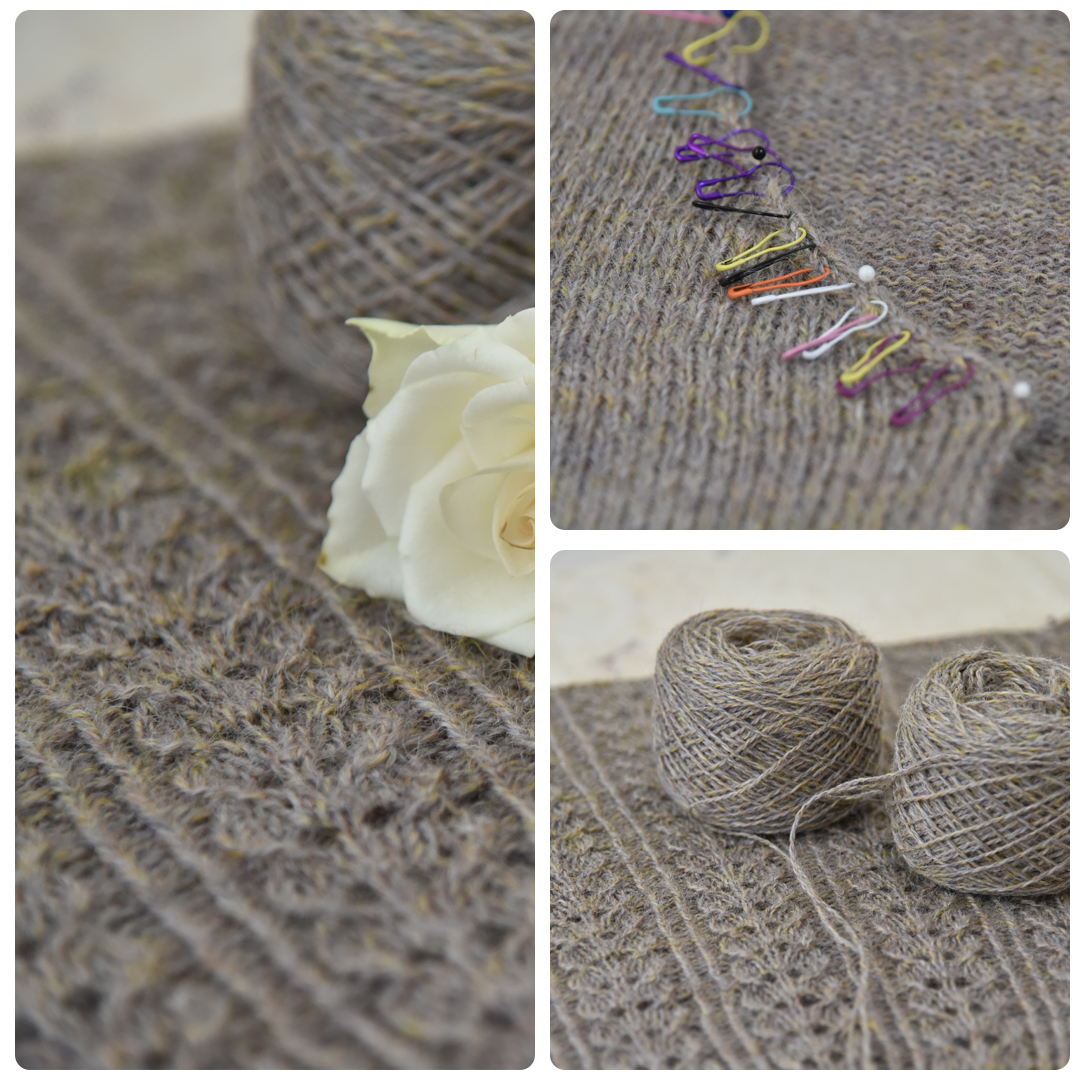
If your sleeves involve shaping through increases or decreases, knitting them simultaneously helps to work the shaping consistently on both sleeves. In this case it is easier to mark increases/decreases with stitch markers rather then making notes and counting rows.


4.    Faster Progress: 
While the initial setup for two-at-a-time sleeves might take a bit longer, the actual knitting tends to be faster. You make progress on both sleeves in each knitting session, reducing the overall time needed to complete the pair.


5.    Prevents Second Sleeve Syndrome: 
"Second Sleeve Syndrome" refers to the phenomenon where knitters lose motivation after completing one sleeve and struggle to start or finish the second. Knitting both sleeves together avoids this issue, as both sleeves progress simultaneously.


6.    Pattern Verification: Knitting both sleeves concurrently allows you to verify the accuracy of the pattern as you work through it. If you find any issues or errors in the pattern, you can fix them immediately on both sleeves.


7.    Easier to Learn New Techniques: 
If your pattern introduces new techniques, knitting both sleeves concurrently provides more practice, making it easier to master the new skills by the time you finish the pair.


Are you team 'both at once' or 'one after another'? Let's discuss! Share your preference for this method in the comments

To see some behind the scene photos you can follow me on Instagram.

You are also welcome to join my Facebook knitting group to share your work and get some help with my patterns.

Read more ...

Checking your knitting gauge correctly

26.1.19
Happy knitting everyone! 
Recently I have written a post how important to knit a gauge swatch before starting of your knitting project. So today I’d like share a couple of useful tips for measuring a swatch and counting stitches.


1.    Knit a swatch with a yarn you plan to use for your project.
Note: These swatches are good for checking stitch counts ONLY!

2.    Knit a good size of swatch – minimum of 10 x 10 cm (4 x 4 inches) + 8-10 extra stitches and rows. Work these extra stitches/rows in garter stitch. It would make a nice border around so your swatch will stay flat for easy measuring.

Note: This swatch is knitted with two sizes of needles in order to choose the correct ones.

3.    Always block (wash and dry flat) your swatch because some yarns can change a lot after washing.

4.    Count number of stitches between two pins placed 10 cm/4 inches apart. 
Note: It is always useful to knit the swatch in a stitch you plan to knit your garment with.

5.    Count number of rows over 10 cm/4 inches the same way.

6.    If you need to count stitches for ribbing, stretch a fabric slightly exactly as you want it to look in your finished garment.

Happy Swatching!!!

Read more ...

Knit a Gauge Swatch

21.11.18
Knitting a swatch and checking your gauge are essentials for almost every knitting project. Many knitters ignore this task and jump to cast on as soon as possible. As a result, they can have a wrong size garment or get very stiff/loose fabric.
So, knitting a swatch can help you:
-    Choose a correct size of knitting needles and the knitted fabric will look beautiful.
-    To get a right size of the finished garment.

Knitting pattern’s gauge is determined by the designer and can be slightly different from the gauge recommended by the yarn’s manufacturer. You need to follow the designer’s gauge in order to get the correct size of the finished garment.

Also the gauge depends on many other factors such as: personal knitting gauge (some knitters knit loose while the others - tight), yarn type and fibre content, knitting needles material and shape. Some yarn will change its size after washing. So, even if you knit with the yarn recommended in the pattern it is still essential to knit your own swatch and make sure that it matches the pattern one.
Swatch Knitting Tips:
1.    Knit a swatch with the yarn you plan to knit your project with.
2.    Knit a swatches for all stitches used in a pattern if it is recommended by the designer.
3.    Do not knit a tiny swatch. The size of your swatch should be at least 10 cm/4 inch.
4.    Block your swatch before taking your measurements.
5.    Knit your swatch in the round if the garment you going to knit is knitted on circular needles seamlessly.
Knitting Gauge problems:
If a gauge of your swatch matches the recommended gauge for both stitches and rows you can cast on your project and enjoy knitting. If your swatch doesn’t meet the gauge you need to adjust the knitting needle size or in rare cases to change the yarn.
-    If you’ve got more stitches per 10 cm/4” (your stitches are too small) than you need to knit another swatch with bigger needles.
-    If you’ve got fever stitches per 10cm/4” (your stitches are too large) than you need to knit another swatch with smaller needles.
Row gauge:
It is more difficult to get the correct row gauge than stitch gauge sometimes. If you’ve got this problem, you can try using wooden needles instead of metal ones and vice-versa.  The change in needles material can help sometimes. If even after using of different type of needles the row gauge is still incorrect you need to change the yarn.
However, if the pattern instructions are based on length measurement and not quantity of rows you can ignore the row gauge.
Get swatching :) 
So even if you feel this crafty itch in your hands don’t skip this important step and knit your swatch first. It is a great opportunity to try your yarn and test out the stitch especially if you’ve never knitted with it before. It can save your time and give your assurance that your project going to come out correctly.
Happy knitting!!!
Read more ...