Recently I shared two designs of mine - Tamar Poncho and Tamar scarf, knitted in colour block and decorated with surface crochet. Today, I'd like to share another design completed in this technique - Tamar Hat. In addition, I made the video tutorial for this fancy method of decoration, which would help you to master this fancy technique and decorate any knitted garment or accessory.

The Tamar Hat is a beautifully simple beanie, crafted with one main colour and accented by a single contrasting shade. While the design may be straightforward, the tartan effect adds a touch of sophistication, making it both stylish and unique.
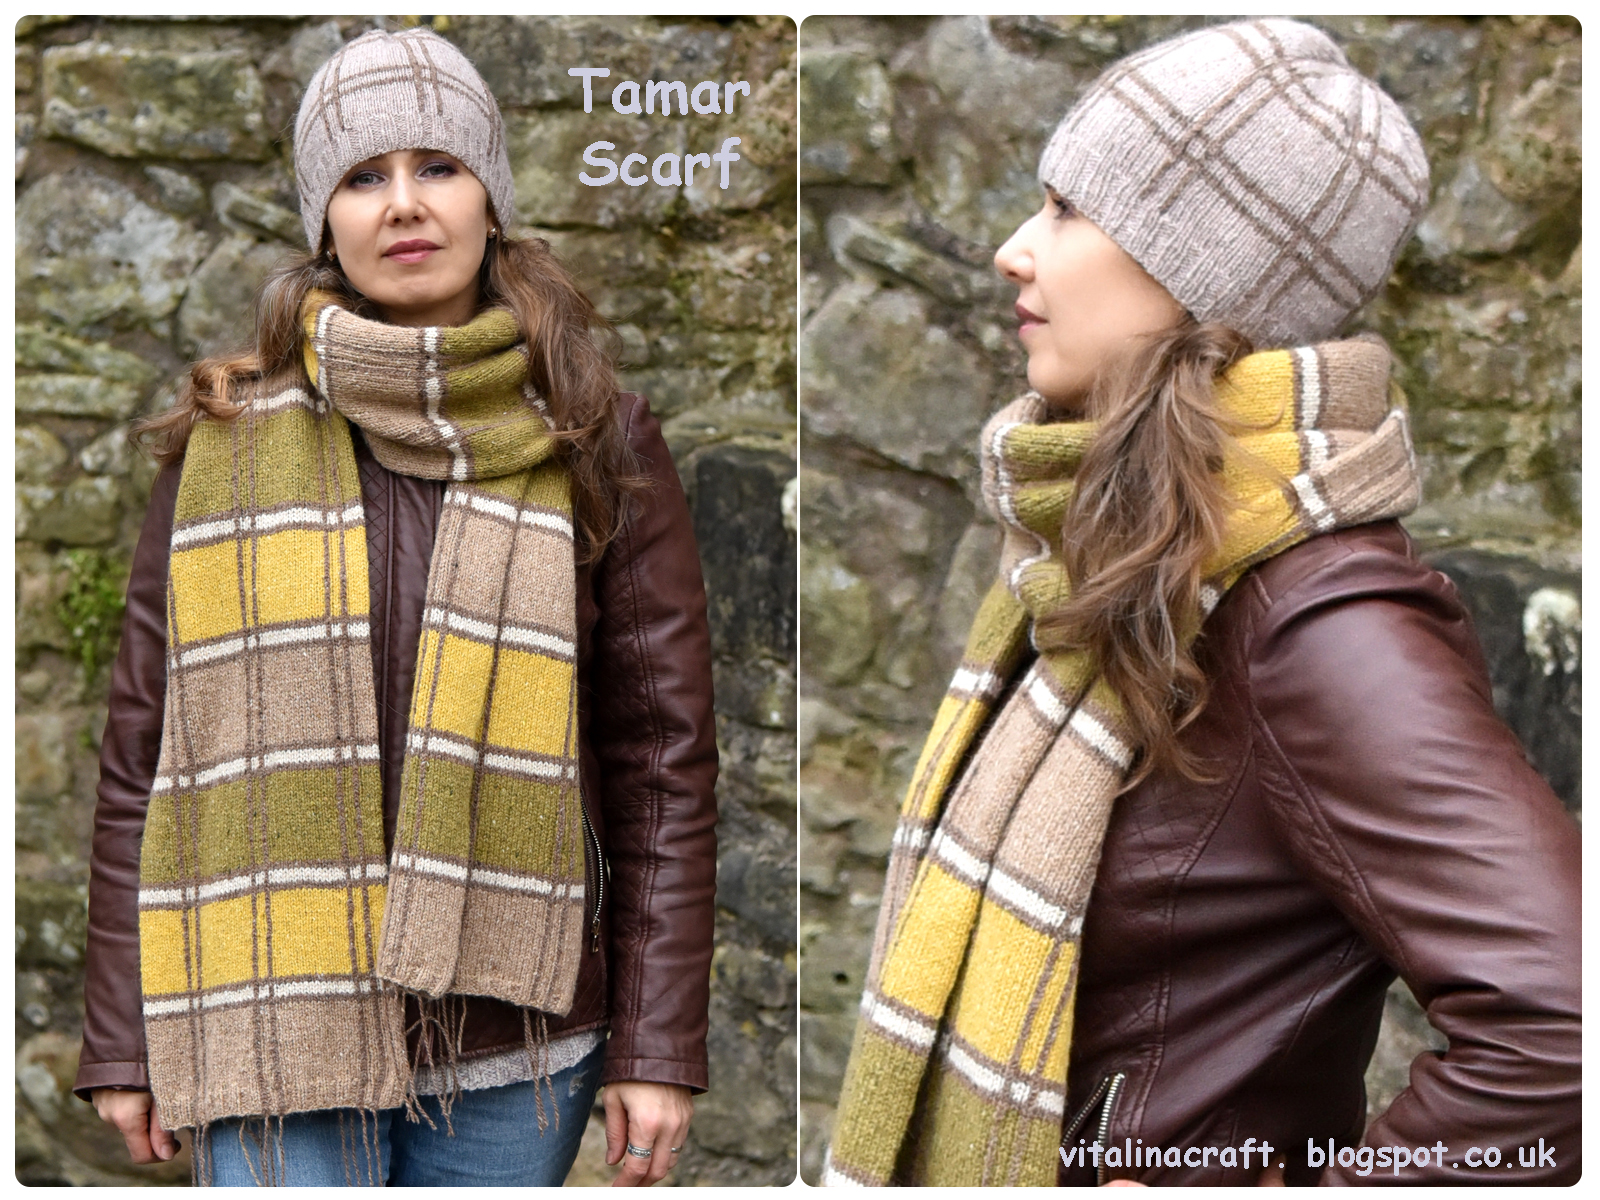
I explored two delightful variations for this pattern: a light-coloured hat with dark stripes and a dark-coloured hat with light stripes. Both styles showcase the versatility of this design, letting the interplay of colours take center stage.


The Magic of Surface Crochet
What makes those hats truly special is the surface crochet technique, which is used to create the illusion of woven tartan lines. This easy crochet method adds depth and structure without requiring complicated intarsia or stranded knitting. If you’ve never tried surface crochet before, don’t worry—the pattern includes a step-by-step photo tutorial to guide you through the process!


Knitting pattern for Tamar Poncho is available from Ravelry.

To see some behind the scene photos you can follow me on Instagram.
You are also welcome to join my Facebook knitting group to share your work and get some help with my patterns.